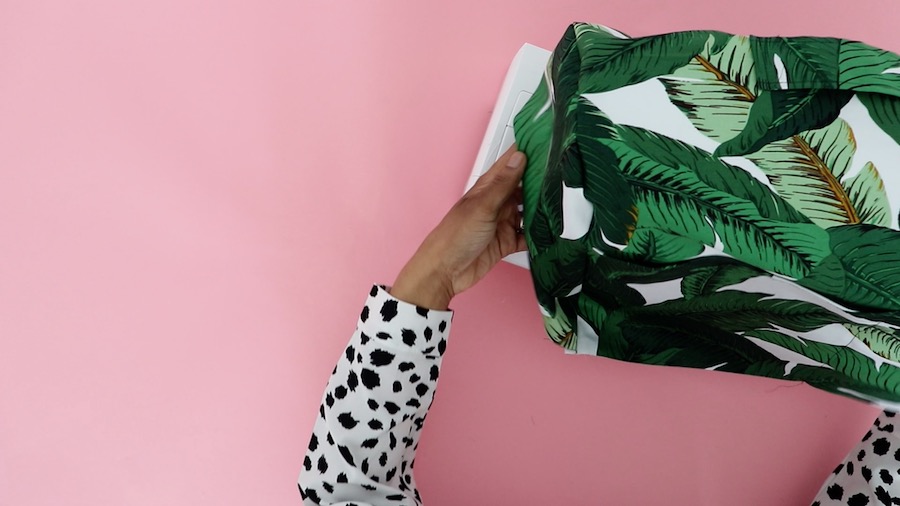
Hello my fellow sewing babes, I finally made my own sewing machine cover for my sewing machine! Although this fabric has some stretch in it I've been able to pull it off. It took me 5 years to make one... I don't know why I waited so long and even though both of my sewing machines survived all the dust for the last 5 years. A dust cover does not only protect your machine from dust but it also spices up your room and the fabric is perfect for this season....and
This is one of the easiest sewing projects to do and strangely enough, definitely one of the proudest things I made. Most likely because of the beautiful fabric and again it brings so much life to the room. Luckily there is enough leftover fabric for me to make a dust cover for my two sergers, so that my machines will have matching covers. I bought this fabric 2 years ago via Aliexpress (find here), which I totally forgot about that's how many fabrics I have (facepalm).
If you're a beginner this sewing project is perfect for you. So, if you're going to make your own dust cover I do not recommend to use fabrics with stretch in it and choose a fabric that fits your room. I drafted the pattern myself if you're interested you can find the pattern right here or feel free to make your own and follow the steps below.
YOU NEED
Sewing machine
Serger (optional)
Interfacing (optional)
Thread
Scissors
Sewing pins
Fabric marker
Ruler
HOW TO
prepping
Cut all pattern pieces and make notches where necessary, this is also the right time to interface your fabric pieces if you're going to use fusible interfacing. Place the fusible side on the wrong side of the fabric.
step 1
Serge (or zigzag stitch) and fold the top edge of the pocket then topstitch a centimeter along the edge.
step 2
Place the pocket on top of the body panel with right sides facing you. Sew in the middle to get a double pocket and baste stitch the sides to the body panel.
Step 3
Make a double fold in the handle press it down then topstitch the long sides.
Step 4
Attach handle with pins in the center of the body panel then topstitch the short sides.
Attach side panel to body panel with as many pins you need. Snip in the body panel where the curve starts of the side panel.
Sew with a straight stitch. Repeat the steps for the other side.
Try the cover on your sewing machine.Step 8
Serge or zigzag stitch all raw edges with the seam allowances facing the direction of the body panel or side panel.
Step 9 (optional)
Topstitch/understitch seam allowance.
Fold and pin the bottom edge then press it down.
Step 11
For the final step topstitch along the bottom edge 1,5 cm from the edge.


Post a Comment
Follow the blog to leave a comment! (This is to prevent spam comments )
Note: Only a member of this blog may post a comment.